
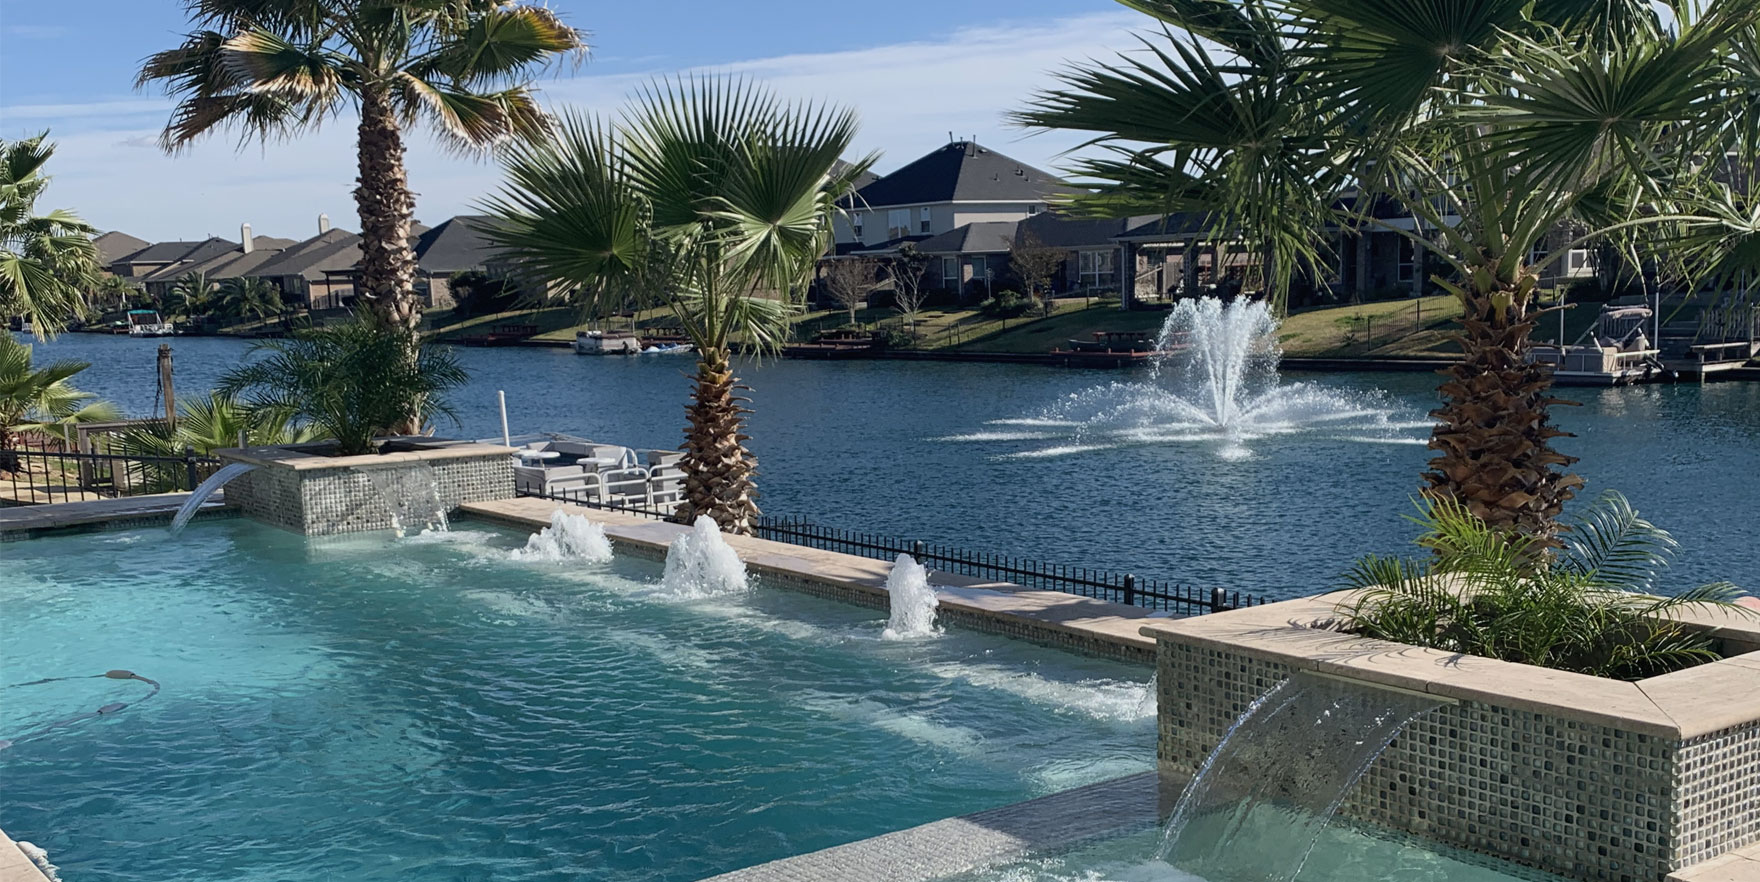
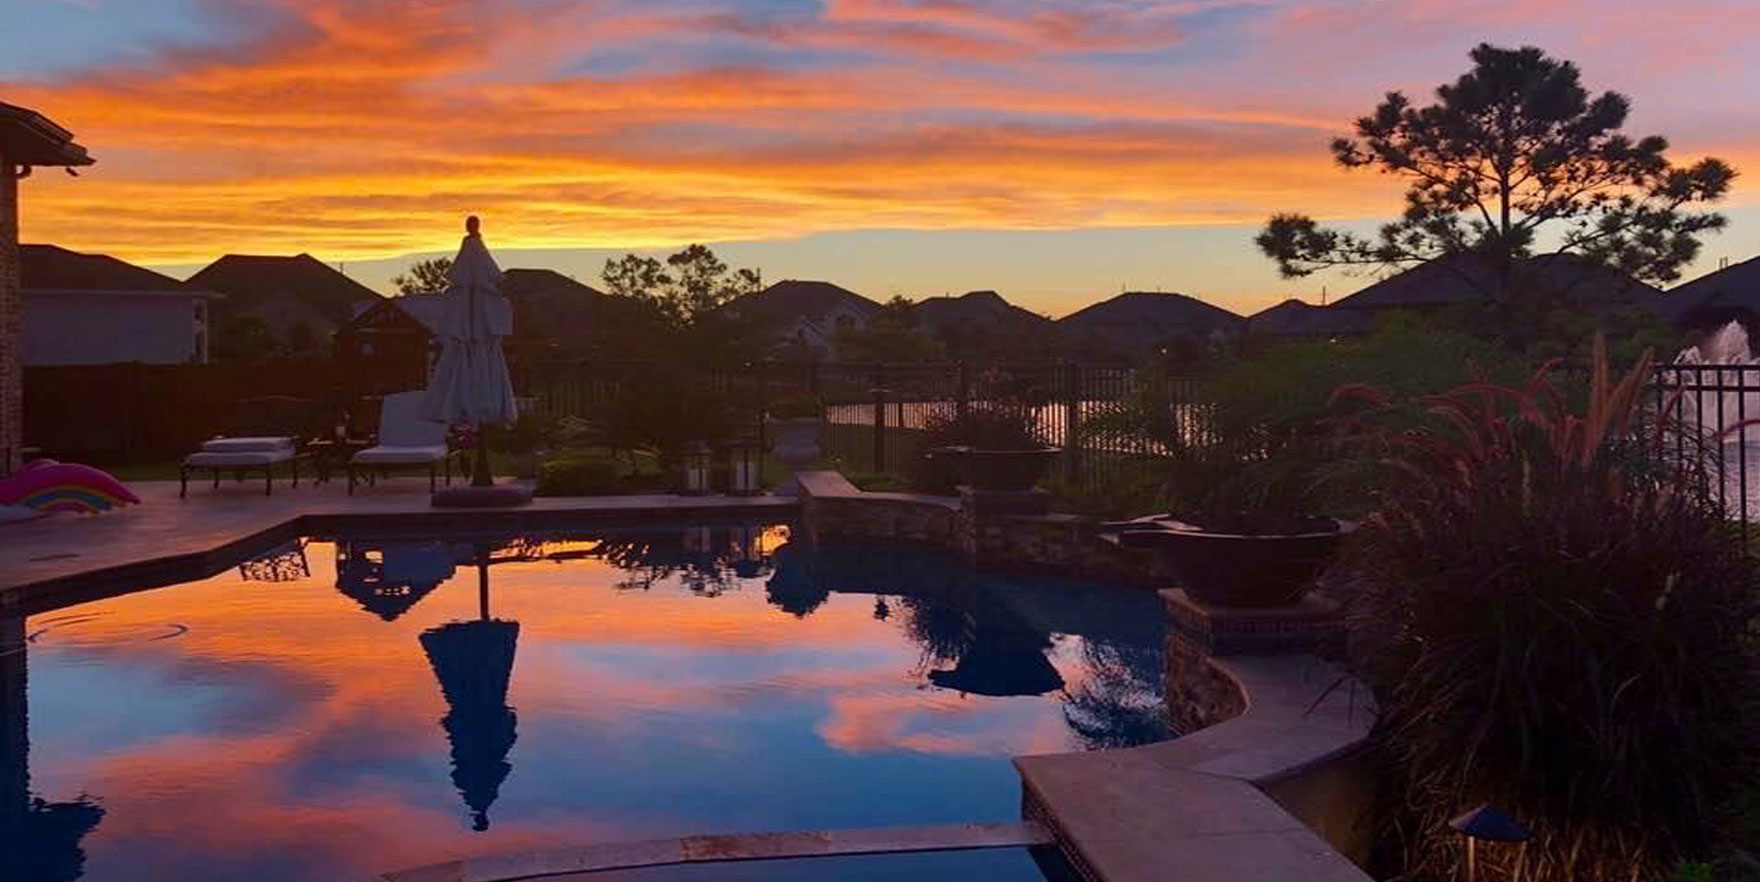


“You all have been great. This was a stressful thing for me and I had no idea what I was doing. But you saw me through it, and I appreciate that so much!”

Janine Abmayr, Houston, TX

Ricky Sherry has over 20 years experience in the industry.

Our fees are reasonable, and all our work is guaranteed. Call our team.

Our repair technicians are factory trained on major brands of pool equipment.
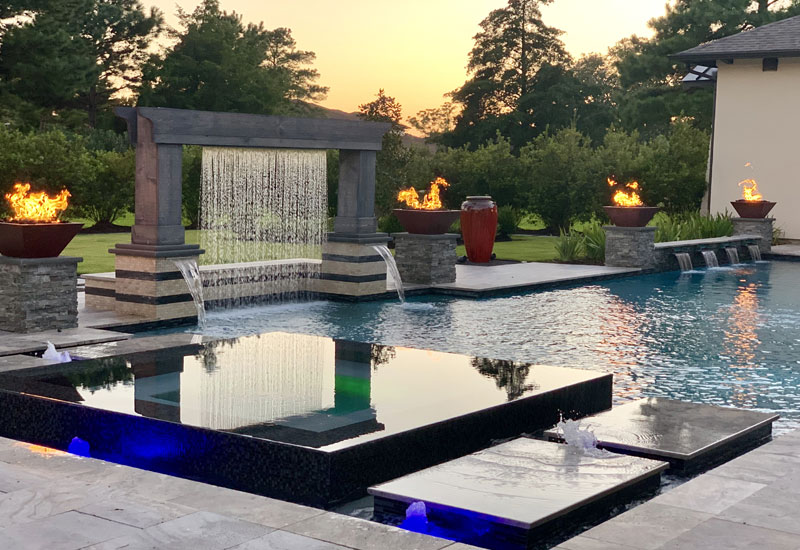

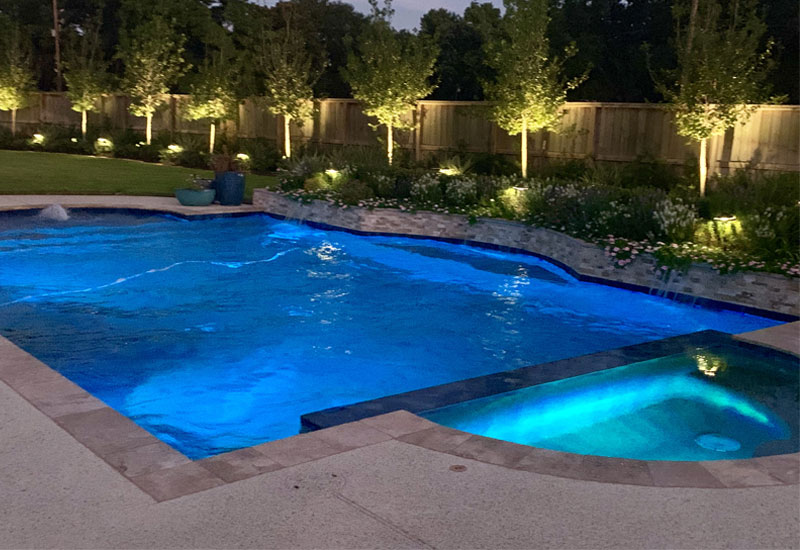
Aqua Blue Custom Pools is an inground swimming pool contractor located in Houston, TX. We specialize in creating custom pools and outdoor living spaces that are shaped around our customer's lifestyles. Located in Cypress Texas, we serve homeowners throughout greater Northwest Houston, from Katy to Montgomery to Conroe and Spring, and of course our beloved Houston Texas. Our custom backyard projects are built with a multitude of options including:


For a one-on-one consultation on your backyard oasis, give us a call at (832) 912-7665.
Contact Us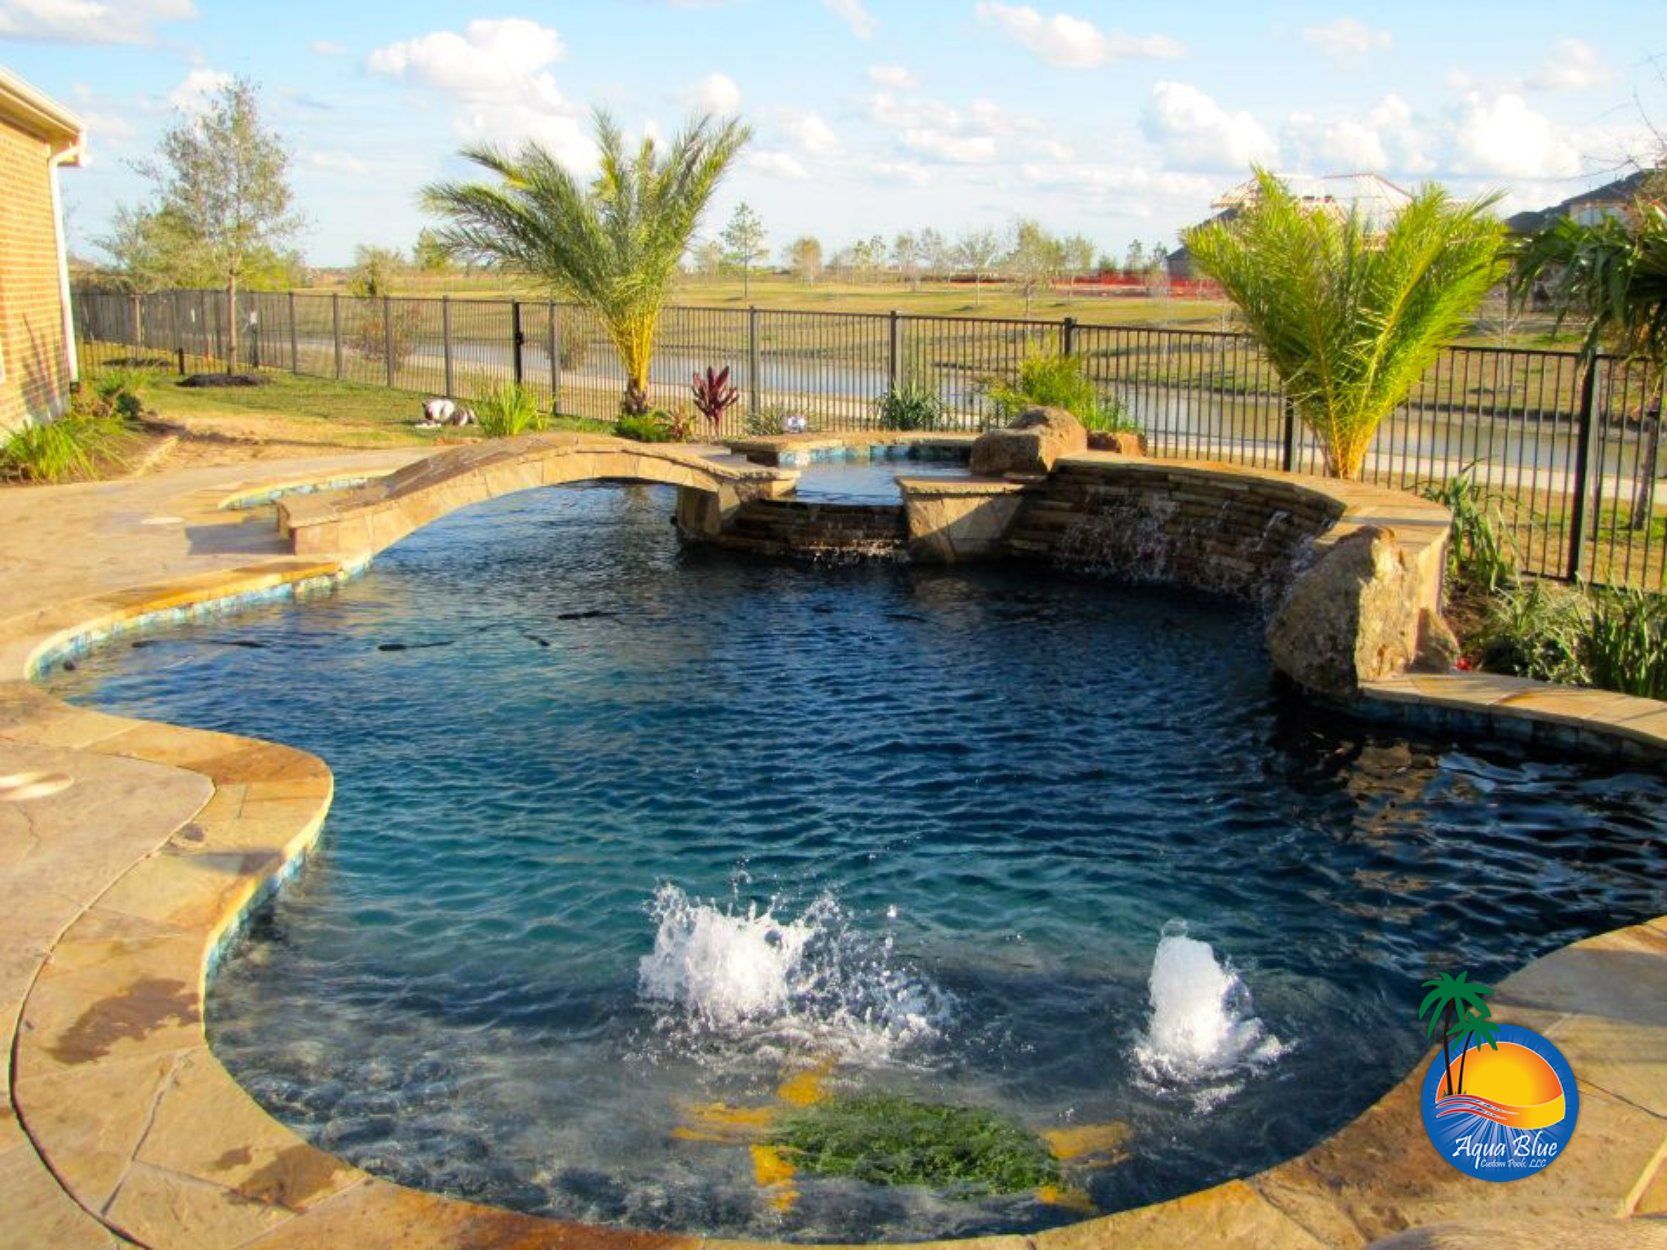
Concrete pools offer the ultimate in personalization and customization.

With the right design creativity, and today’s new features

Swimming pool heating costs can be significantly reduced by using a pool cover.
For a one-on-one consultation on your backyard oasis, give us a call at (832) 912-7665 or fill out our online form.
One of our design specialists will be happy to help you.

At Aqua Blue Custom Pools, we know it's a major decision to build a custom pool.

Creating the perfect pool for someone is not just our job, it's our passion.

We're a "Total Backyard Provider," not just a swimming pool company. Call our team.

We take pride in our dedication to our customers and are proud to share their testimonials.

We provide repair services for all pool equipment and accessories.

Our weekly pool maintenance customers get our ‘water quality guarantee’ so sign up today.

“Spot Cleaning” is a dirty practice some pool service companies use to reduce their prices.

We employ highly skilled technicians who are dedicated to providing exceptional service.

Inquire today for a price quote on pool maintenance, pool repair or pool renovation.
We provide a high-value service at a reasonable price and live up to our business commitments, by going beyond our customers' expectations.
We believe in long-term commitments. Pool Service fosters long-term relationships with our customers and invests in our people to provide overall customer satisfaction.

 Aqua Blue Custom Pools LLC
9102 Sweetbrush Drive, Houston
4.6 38 reviews
View Google Reviews Leave A Review

Aqua Blue Custom Pools did an amazing job building our pool! From start to finish they worked with us insuring we got everything we wanted.
— Jen Thibaut, Cypress, TX, House Owner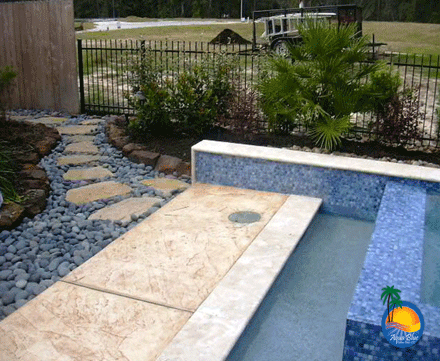
You all have been great. This was a stressful thing for me and I had no idea what I was doing. But you saw me through it, and I appreciate that so much!
— Janine Abmayr, Houston, TX, House Owner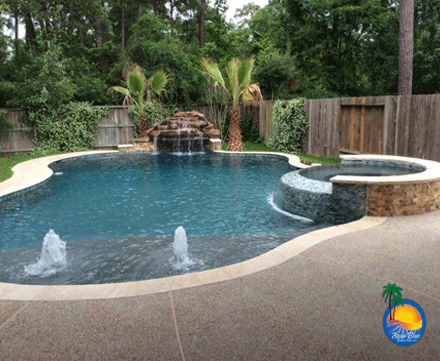
“We would highly recommend Aqua Blue Custom Pools. We trusted them to help design our pool which we absolutely love."
— Vic & Kathy Abbate, Spring, TX, House Owner
“My pool looks amazing!!! Thanks for your continued service!!!”
— The Hamiltons, Tomball, TX 77377, House OwnerOur work and our reputation does the advertising for us. We take great pride in building pools and relationships that last. Get in touch.
(832) 912-7665